• When you click on links to various merchants on this site and make a purchase, this can result in this site earning a commission. Affiliate programs and affiliations include, but are not limited to, the eBay Partner Network.

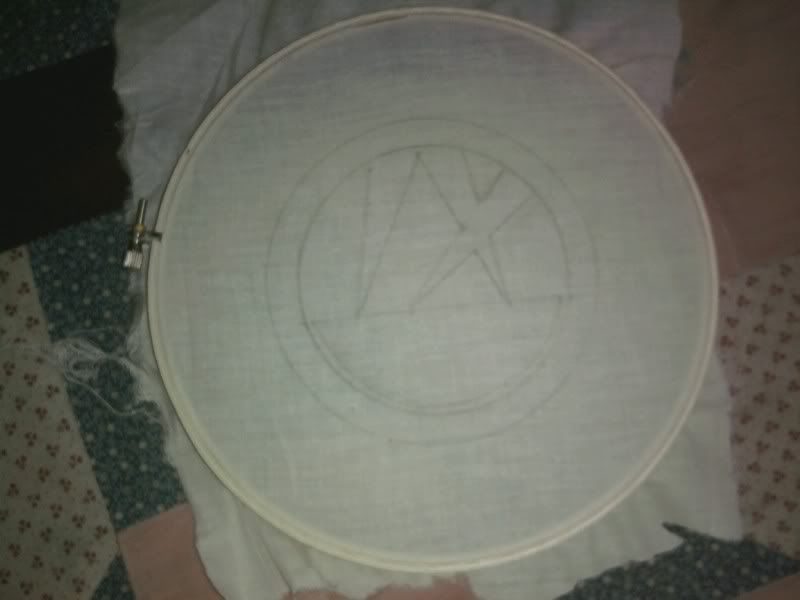
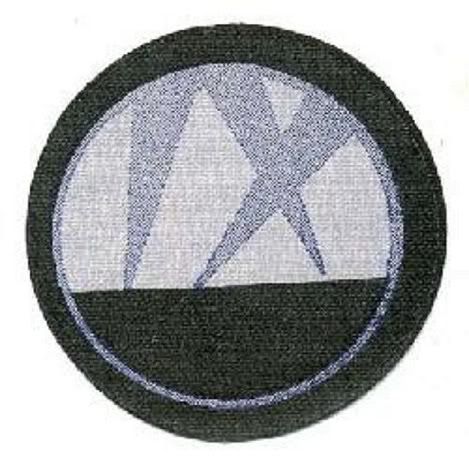
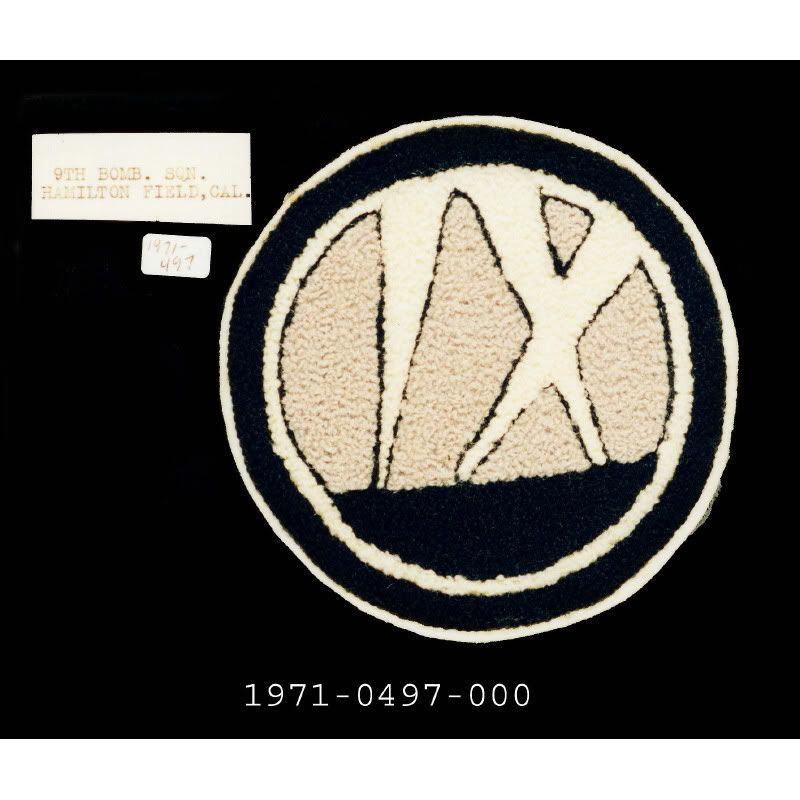
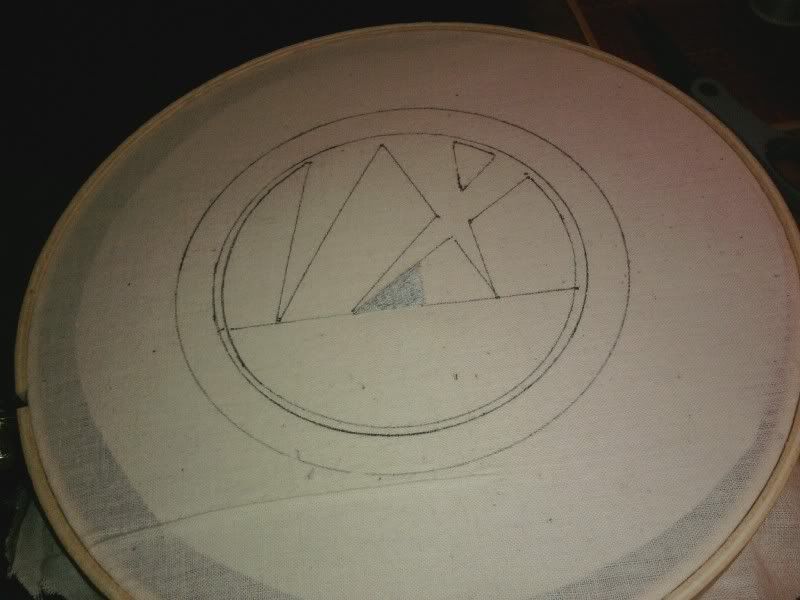
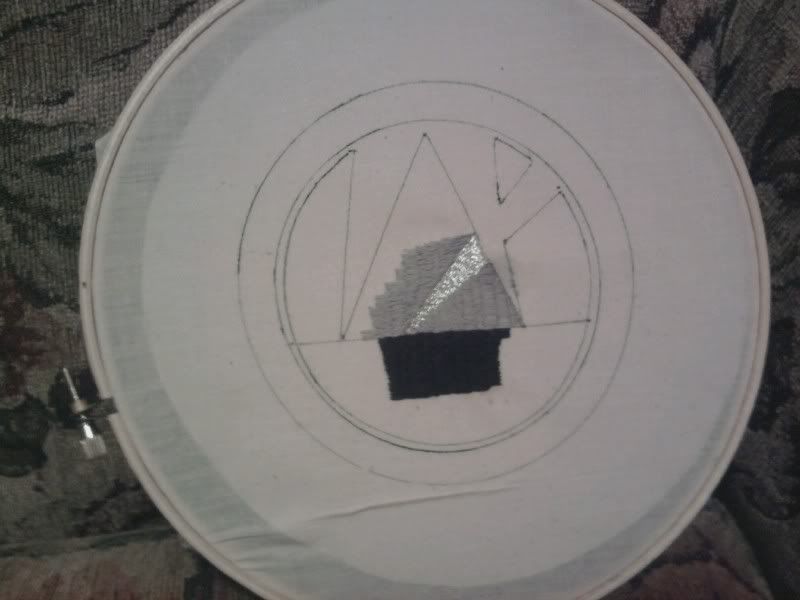
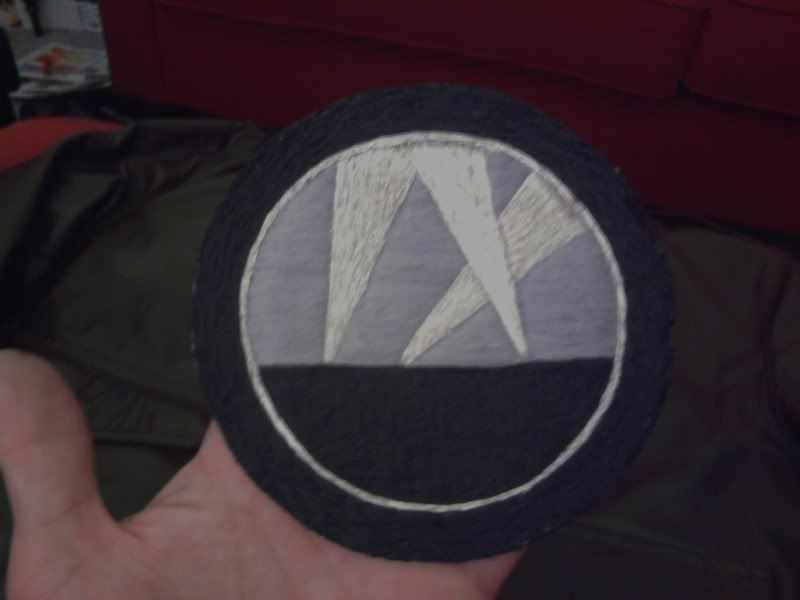
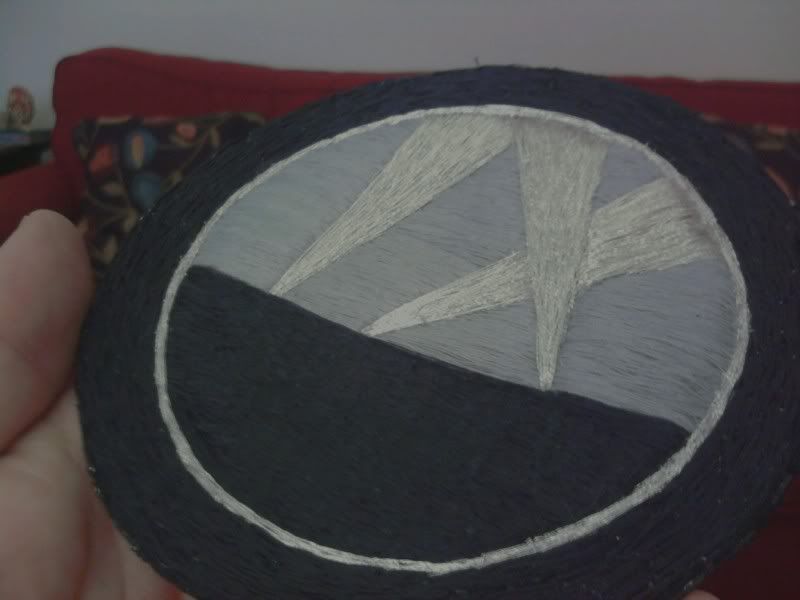
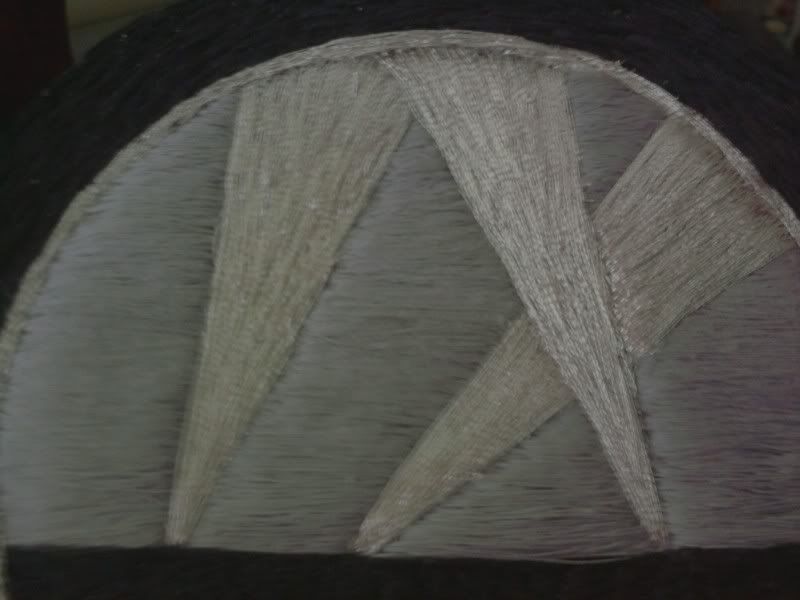
Another patch embroidering project begins...

deand

Active Member
Trying again, this time using a better approach based on some input from fellow forum members. 9th Bomb Squadron insignia, using Grey, Black and Silver(metallic) thread. Will update as progress is made:


At start 5" penciled image on linen:
mms_picture2-5.jpg


Souce image:
Thumb8458.jpg


Goal:
MurocGunneryCampMiscellaneous0001zo-1.jpg


dean
 

EMBLEMHUNTER

Well-Known Member
The two patches on the guys in the middle and right 'appear" to be Chennille types with the heavy thick material , the other almost looks like a silkscreened one , interesting combination in one photo .
 

ButteMT61

Well-Known Member
I've always loved the simplicity and image in that patch. Can't wait to see the finished product!
 

deand

Active Member
I have a photo of a chenille original. I'll post it if I can find it. And a WWII era A-2 with a chenille patch.


dean
 

deand

Active Member
Thanks for the encouragement, guys, I know how much persistence these things take! Here's the photos I mentioned:

19710497000.jpg


1a3e7f7051f28f79_large.jpg


dean
 

dmar836

Well-Known Member
Should turn out cool! After the time it took for that last one, I'm surprised you are up for it.
Dave
 

deand

Active Member
Already hit first snag, so to speak. Linen shifting ever so slightly causing distortion during embroidering. Starting over with a modification of the surface of the hoop to hold the linen more snugly. The sewing went easily and actually prettty quickly, the hoop is much easier to use than not.


dean
 

deand

Active Member
Restart going well. Used iron-on material on the back of the linen to give it more body and help it hold shape. The fold below the image outline will not effect the patch area, it was there when I ironed on the backing. Hoop seems to be holding much more snugly. First hour of work with gray thread. Actually, though slow, it's probably no more time consuming the model building.

mmsc_picture.jpg


dean
 

deand

Active Member
The finished image emerges. I'm working from the center outward to avoid distortion. So far so good. About 7 hours of work.
mms_picture-16.jpg


dean
 

deand

Active Member
Almost 30 days to the day, here it is. I sat it on my cheap A-2 just get an idea of how it would look on a jacket. i'm happy with it, the next one will be better.


0515121416a.jpg


mms_picture11-1.jpg


mms_picture10.jpg


0515121416.jpg


dean
 
Top